
Привет всем!
Я сделала два новогодних румбокса.
Hello everybody!
I've made two New Year's room boxes! :)

Да, весна уже близко, а я все еще делаю новогоднюю тему. Она очень меня задержала. Это произошло потому, что одна деталь потянула другую, и так далее. Я даже не знала как изложить весь материал. Потом решила показать все мои мытарства по порядку. Итак. Я разбила эту тему на несколько постов. Сегодня я покажу новый румбокс, переделанный камин и раму с картиной.
Yes, spring is already close, and I'm still doing a New Year's theme. It delayed me so much. This happened because one detail pulled the other, and so on. I did not even know how to tell about all this. Then I decided to show all my ordeals in order. So. I broke this topic into several posts. Today I'll show you a new room box, a converted fireplace and a frame with a picture.

Румбокс я сделала из деревянных реек и ДВП, как показывала в предыдущем сообщении.
I made the room box from wooden racks and fiberboard, as shown in the previous message.
I made the room box from wooden racks and fiberboard, as shown in the previous message.

Наклеила обои.
Pasted wallpaper.
Pasted wallpaper.

Паркет из деревянных палочек.
Parquet from wooden sticks.
Parquet from wooden sticks.

Морилка + лак.
Stain + lacquer.
Stain + lacquer.

Потом собрала при помощи шурупов. Шуруп хорошо закручивается, если егосмазать мылом! :)
Then I assembled it with screws. The screw can be tightened well if it is smeared with soap! :)
Then I assembled it with screws. The screw can be tightened well if it is smeared with soap! :)

Вот получился такой маленький румбокс.
Here is the little room box I got
Here is the little room box I got


Я использовала камин, который сделала 5 лет назад. Он был зеленый ранее, потом я его покрасила белой краской, потом хотела выбросить, потом решила дать ему вторую жизнь.
I used a fireplace that I made 5 years ago. It was green before, then I painted it with white, then I wanted to throw it away and then I decided to give it a second life.

Заднюю кладку я намазала клеем ПВА и присыпала измельченным мелком.
I covered the rear masonry with PVA glue and sprinkled it with crushed chalk.
I covered the rear masonry with PVA glue and sprinkled it with crushed chalk.

Я добавила в акриловую краску песок и покрыла бедный камин этой смесью.
I added sand to the acrylic paint and covered the poor fireplace with this mixture.
I added sand to the acrylic paint and covered the poor fireplace with this mixture.

Дрова посыпала блестками для ногтей. Этот способ я увидела в замечательном блоге Janice Hammett.
The firewood was sprinkled with sequins. This way I saw in a wonderful Janice Hammett blog.
The firewood was sprinkled with sequins. This way I saw in a wonderful Janice Hammett blog.


Вот получился такой камин.
Here is the fireplace
Here is the fireplace

Я нашла картинку с зимним пейзажем. Я наклеила ее на картон, а деревянную раму наклеила сверху.
I found a picture with a winter landscape. I pasted it onto the cardboard, and glued the wooden frame from above.
I found a picture with a winter landscape. I pasted it onto the cardboard, and glued the wooden frame from above.
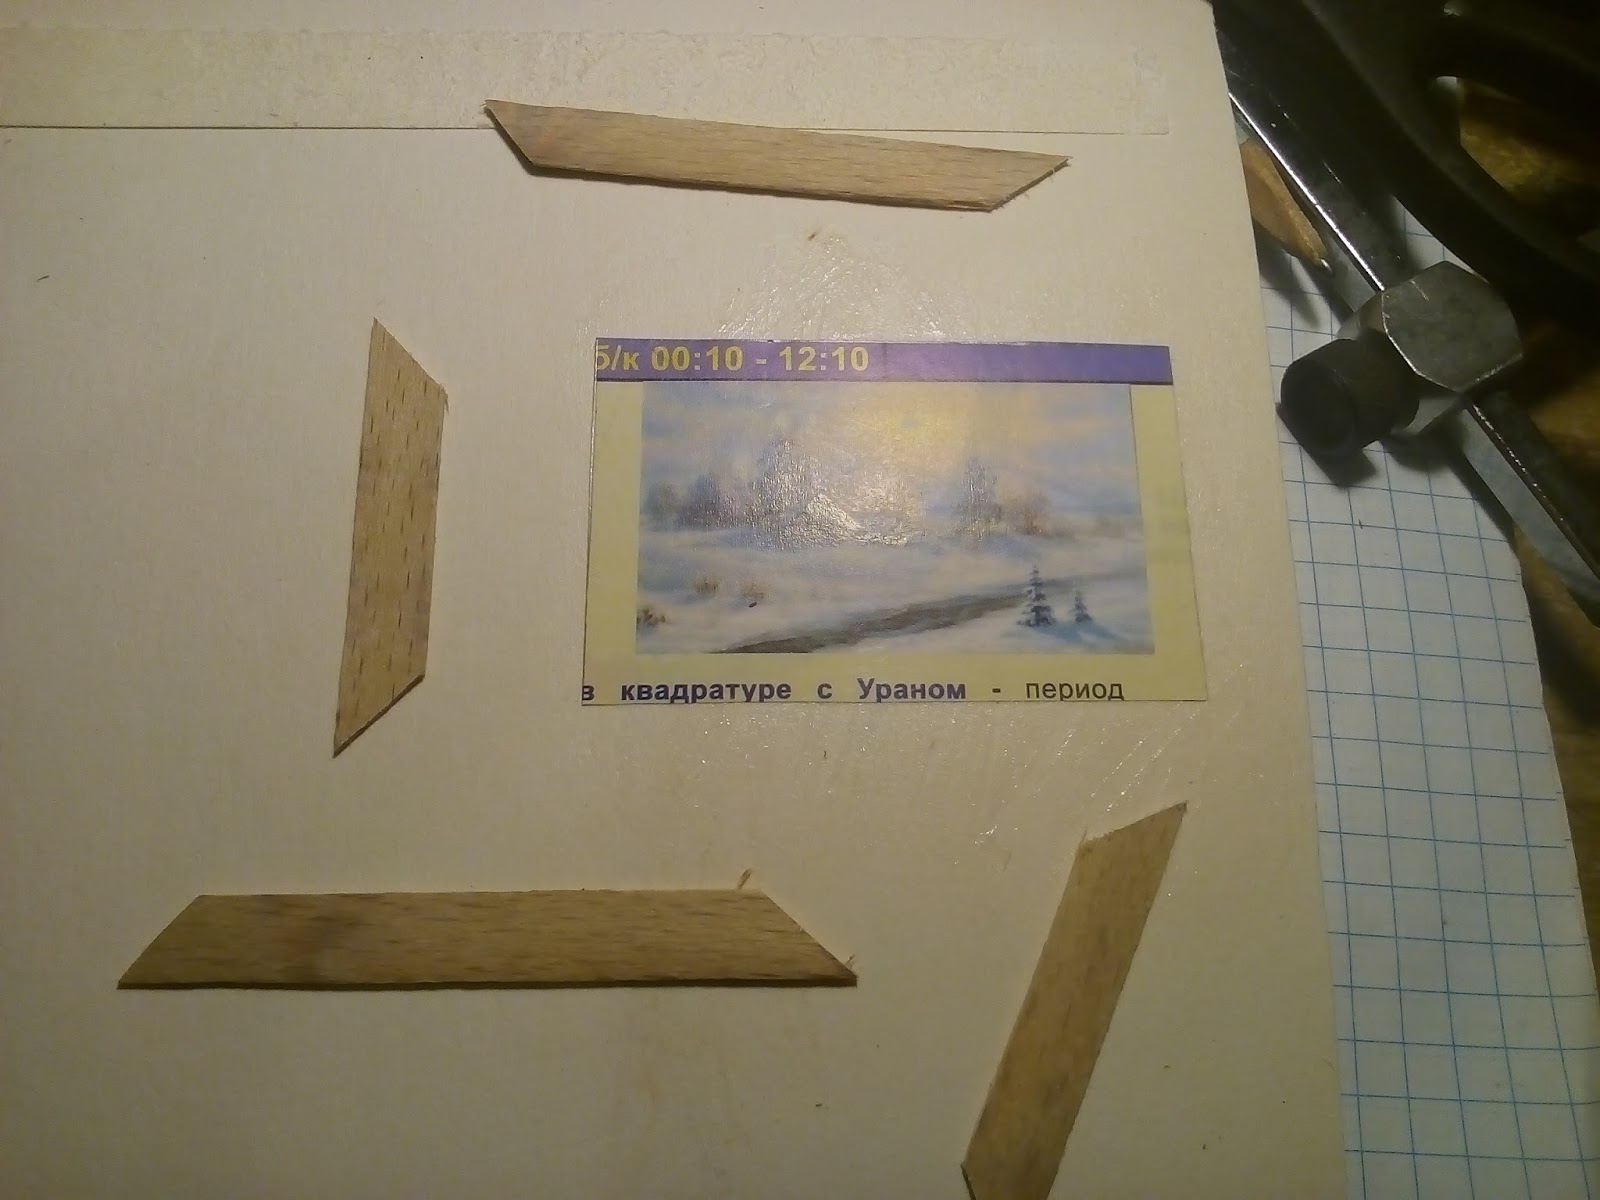

Пейзаж покрыла декупажным лаком. Я формировала поверхность пейзажа жесткой кисточкой до полного высыхания лака. Поверхность получилась не ровная.
The landscape was covered with decoupage varnish. I formed the surface of the landscape with a rigid brush until the varnish dried completely. The result surface is not even.


Да, этот румбокс предназначен для елки, которую я сделала ранее. В румбоксе будет находится камин, елка и кресло. Вы ошибаетесь, если думаете, что румбокс будет выглядеть именно так. Я тоже ошибалась. Ою этом я расскажу в следующий раз.
Yes, this is the room box for the Christmas tree, which I made earlier. In the room box there will be a fireplace, a Christmas tree and an armchair. You are mistaken if you think that the box will look like this. I was wrong as well. I'll tell you about this next time.
Yes, this is the room box for the Christmas tree, which I made earlier. In the room box there will be a fireplace, a Christmas tree and an armchair. You are mistaken if you think that the box will look like this. I was wrong as well. I'll tell you about this next time.

Продолжение следует.
To be continued.
beautiful work!
ОтветитьУдалитьhugs
I can't wait to read the end of your story. I love your fireplace.
ОтветитьУдалитьGeneviève
The fireplace is stunning and the story very intriguing. I look forward for more.
ОтветитьУдалитьHugs, Drora
Hi Tatiana! I love what you did with the fireplace, the result is amazingly this way! Thank you for sharing the links. The parquet floor, the painting and walls are also elegant and beautiful. I can't wait to see what will come next, you've now made us very curious ;O!
ОтветитьУдалитьGood to hear from you, dear friend.
Warm hugs, Ilona
Jaaaaa! Me dejas con la intriga :) Estoy deseando cómo termina la historia :)
ОтветитьУдалитьEs preciosa y un tutorial para el montaje muy completo.
ОтветитьУдалитьUn abrazo
I'm so glad that you've given the fireplace the chance to get a second life! ;O) It looks fantastic now, all the steps of aging and dirtying it paid off for sure. I really like your project - and according to me you're not too late for Christmas and New Year but very good in time because it's never too early to start with the holiday preparations. And although you told us that your roombox will change still it looks fantastic so far. Oh, and not to forget - the picture looks terrific, using the podge was a brilliant idea.
ОтветитьУдалитьHugs
Birgit
A cozy room.
ОтветитьУдалитьSupongo que llegarás a la preciosa escena de la foto inicial. Me encanta ver el desarrollo.
ОтветитьУдалить